ITEM Tutorial Step 6
Step 6: Meshing the Geometry
The actual mesh generation process is usually quite iterative. Rare
is the case where meshing succeeds perfectly on the first try, even when
all volumes are "meshable". Even if it does succeed, it is usually
constrained by areas of poor quality elements. ITEM was designed to help
users navigate the iterative mesh generation process. When meshing fails,
the mesh generation panel helps to explain common error messages and suggest
possible strategies for getting a model to mesh.
- Click Mesh the geometry
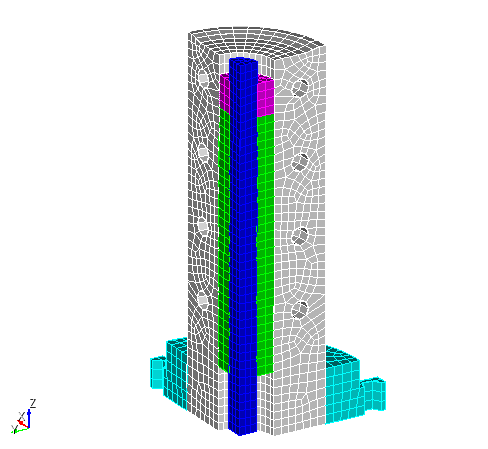
- Click Generate Mesh. Meshing succeeds in this
case, but on closer inspection, it appears as though it has forced
a mapped mesh on two surfaces that would be better as paved surfaces.
- Right click on Meshed Volumes and select Delete
Mesh

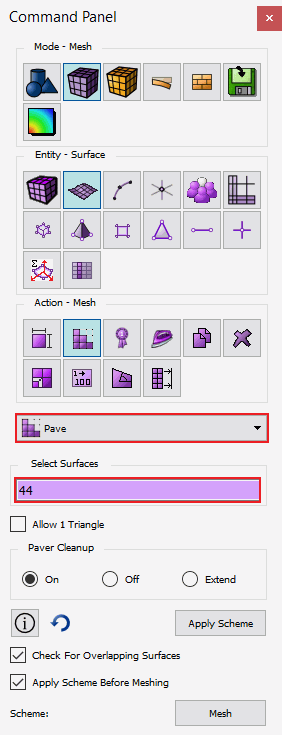
- Click on Volume 3-Surface 44 - Notice the scheme
is set to map

- Click on the Meshing-Surface command panel and
set the scheme to pave for Surface 44

- Repeat for Surface 20
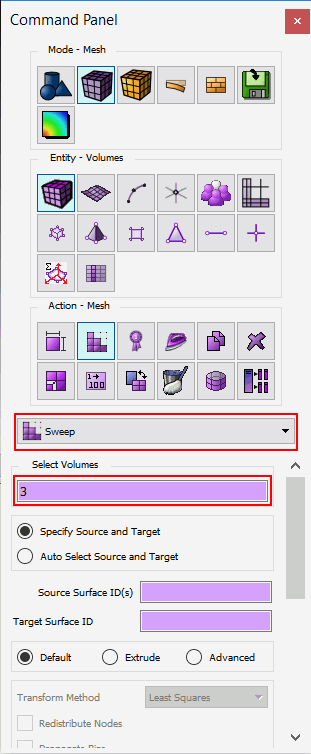
- Go to command panel for Meshing-Volume and select
Volume 3. Change the scheme to Sweep.

The mesh density didn’t adequately capture the mesh features. To decrease
the mesh size, return to the setup panel.
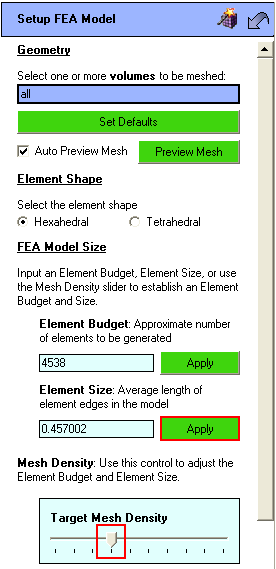
- Back on the ITEM Panel, click on Setup the FEA model
button on the left panel.
- Change the mesh size by moving the target mesh density slider one
position to the left.
- Click Apply next to the Element Size

- Click on Done
- Click on Mesh the geometry
- Click on Generate Mesh

![]()
![]()


