Coreform Cubit 2025.8 User Documentation
Selecting entities in the graphics window can sometimes be complicated. The Extended Selection Dialog leverages the combination of Python and the Coreform CubitInterface class to give users a very powerful mechanism for creating and managing custom selection filters.
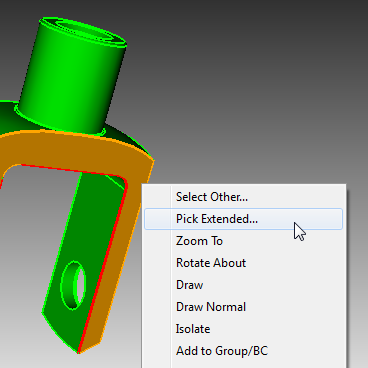
The dialog is accessible any time a geometry entity is selected in the graphics window. Consider this workflow:
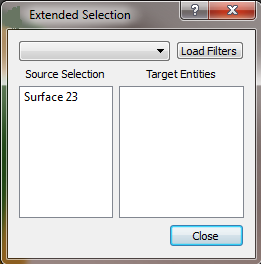
When the dialog is first shown, no filters are available.
Load existing filters by:
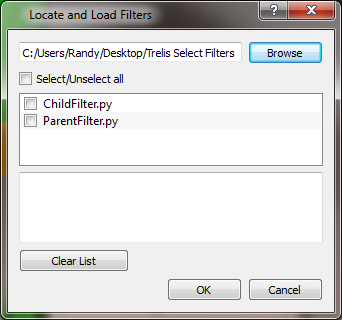
The very first time this dialog is shown, the path to the filters folder will be blank and no filters will be shown in the filter list. Press the "Browse" button and select the folder that contains the custom filters. This folder can be anywhere on the file system. Coreform Cubit will remember the location and use it during subsequent sessions. The folder may be changed at any time.
A list of custom filters, written in Python, will be shown. Select any given filter to examine its contents. Check all filters to be included in the menu for Extended Filters. Then press "OK".
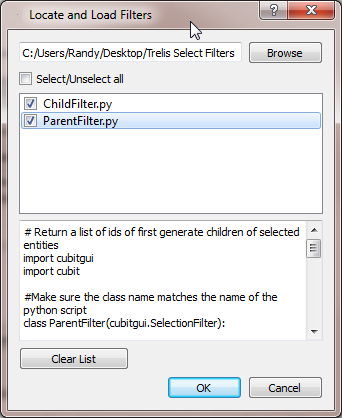
At this point, all of the filters selected in the Locate and Load Filters dialog will be available for use in the Extended Selection dialog.
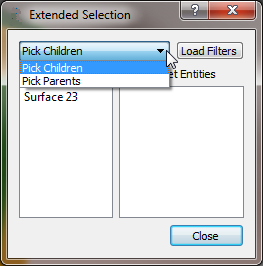
Use the pull down menu to select a filter. Click on an entity in the Source Selection list. Geometric entities that fit the filter criterion will be shown in the Target Entities list.
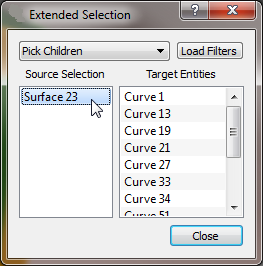

Depending on the nature of the selection filter it may be useful to 're-seed' the Source Selection with an item from Target Entities. Simply drag an item or items from Target Entities into the Source Selection list.
Parameterized filters will require a user interface which will be added into the extended selection filter dialog. The user interface can be made using Qt's Designer, which is a free tool that ships with the Qt toolkit. The Qt Designer tool produces an XML file that will be read by Coreform Cubit and automatically included in the Extended Selection Filter dialog.
For example, if we wanted to create a selection filter that would select all entities of a certain type within a certain radius of a source entity, we would require a user interface that captures the desired radius and the desired entity type to be selected. An image of that user interface is shown below. The image was copied directly from Qt Designer.

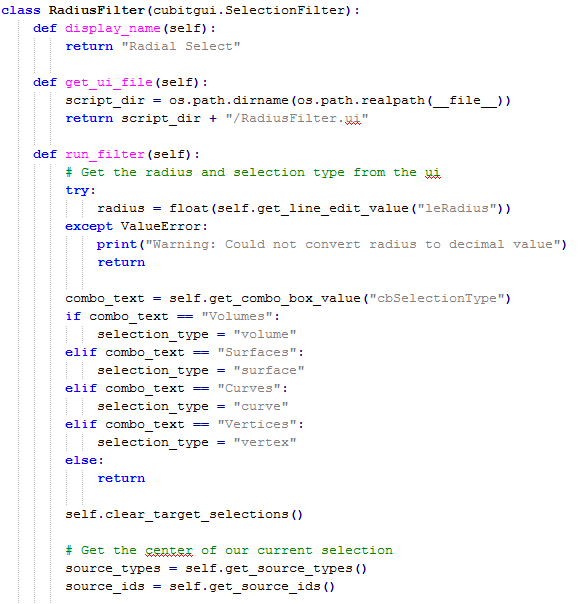
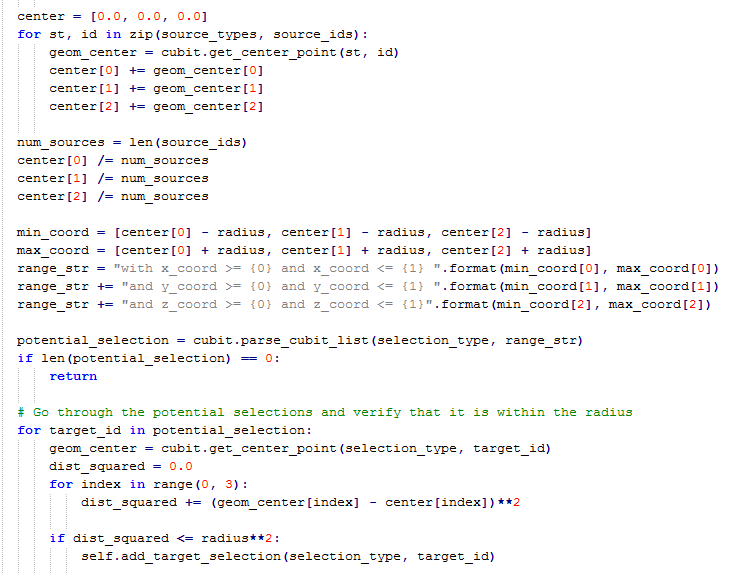
Notice two input fields: 1) a Line Edit to capture the desired selection radius and 2) a Combo Box that contains "Volumes", "Surfaces", "Curves", "Vertices" to specify the target entity selection type. The extended selection filter that contains this custom interface is shown below. The example shows a selection of all curves within 1 unit of the source selection.
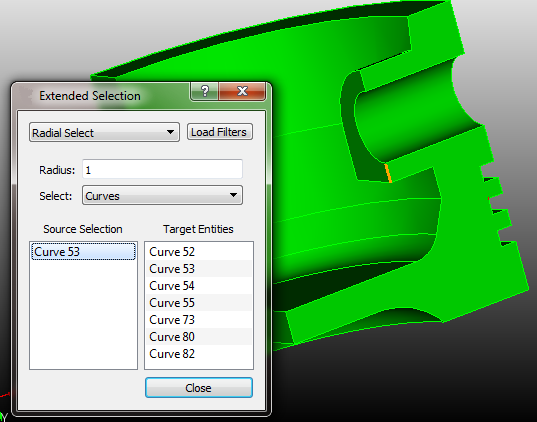
The class Coreform CubitInterface is used by the GUI to drive Coreform Cubit and access its database. You can read about the Python Interface used by Coreform Cubit for more details. Suffice to say, all of the functions and data included in Coreform CubitInterface are available to Python programmers.
Extended Selection custom filters are written in Python. Follow the instructions below, save the filters on the file system, then load the filters as explained above.
A Simple Example Filter
This first example shows a filter that will return a list of first generation children of the selected entities. No user input is required and no additional user interface is necessary.
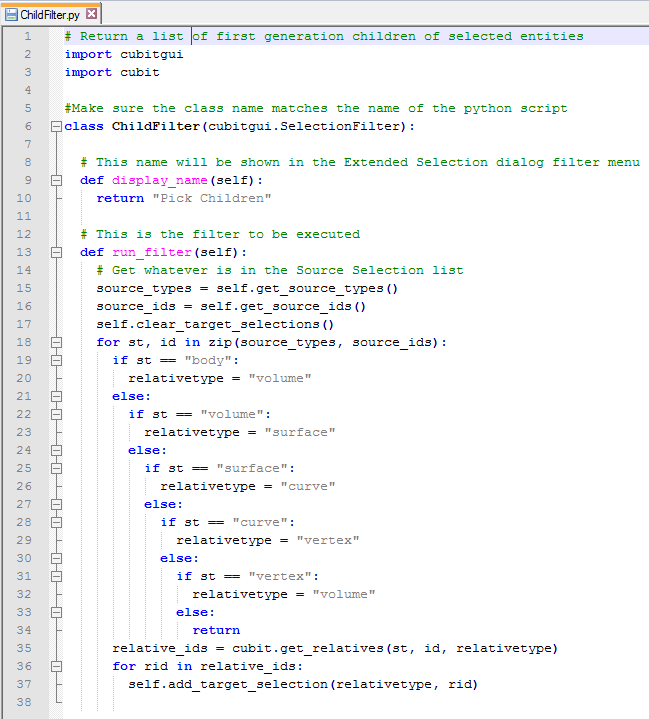
As mentioned above, the custom Python filters must implement a class and that class must be derived from the SelectionFilter class. The SelectionFilter class is available in the Coreform Cubit SDK. The SDK is available to any user.
In order to include user input into an extended selection dialog, two additional things must happen:
Qt UI objects supported by the extended selection filter include:
As the example Python code shows, the Qt objects are referenced by name. These code snippets below are not complete. Complete examples and a video tutorial are available from www.csimsoft.com.